Why dealers blur number plates
The first reason is the trade-in. A car photographed on the forecourt the week it arrives is still wearing the registration of the person who sold it to you, and they didn't agree to have it published across four marketplaces. Blurring it is basic courtesy toward a customer who is no longer in the transaction.
The second is not handing out a readable registration at scale. A plate published in high resolution, from several angles, next to the make, model, color and rough location of the car, is a convenient package for anyone with an interest in associating that registration with a matching vehicle. There's no need to make that easy.
The third is that marketplaces and buyers have come to expect it. Blurred plates are the norm in professional listings, and a set of photos with the registration blanked reads as a dealer who handles the admin properly. It also keeps the set visually consistent, which is the fourth reason: twenty photos where the plate is treated identically look like they came from one shoot, because they did.
The time problem
Blurring one number plate in a desktop editor is a couple of minutes: open the file, select the region, apply the effect, flatten, save under a new name. That's fine once. It is not fine thirty times, and it's the reason this job quietly gets skipped when the forecourt is busy.
Multiply it across a normal week and the arithmetic gets uncomfortable. Several cars, thirty photos each, a few minutes per photo, plus the file shuffling — you've spent an afternoon on an edit that adds nothing to the listing except the absence of one rectangle. Per-photo manual editing doesn't scale, so either it gets rushed and inconsistent, or it doesn't happen.
Batch-blurring a whole shoot
Bulk mode is built for exactly this shape of work. Drop up to 20 photos at once and each one gets its own detection pass, so the plate is found separately in the rear shot, the three-quarter and the tight wheel-arch photo rather than a single box being copied across the set.
You review them through image tabs. Step through the shoot, glance at each detected region, and fix the ones that need it — a plate at a hard angle or half behind a bollard may want the box nudged or drawn by hand. The photos that came back clean need no attention at all, which is most of them.
Files come off whatever you shoot with, as long as it's already a JPEG, PNG, WebP or HEIC/HEIF under 20 MB — camera JPEGs and phone HEICs both work as-is straight from the memory card or camera roll. RAW or TIFF files need exporting to one of those formats first, and very large full-resolution frames may need a smaller export to stay under the size limit.
Then one export. Every image downloads as a single ZIP with the blur baked into the pixels and EXIF metadata stripped from each file, so the forecourt's GPS coordinates don't travel with the listing either. Originals and exports auto-delete within an hour, so nothing sits on a server waiting to become someone's problem.
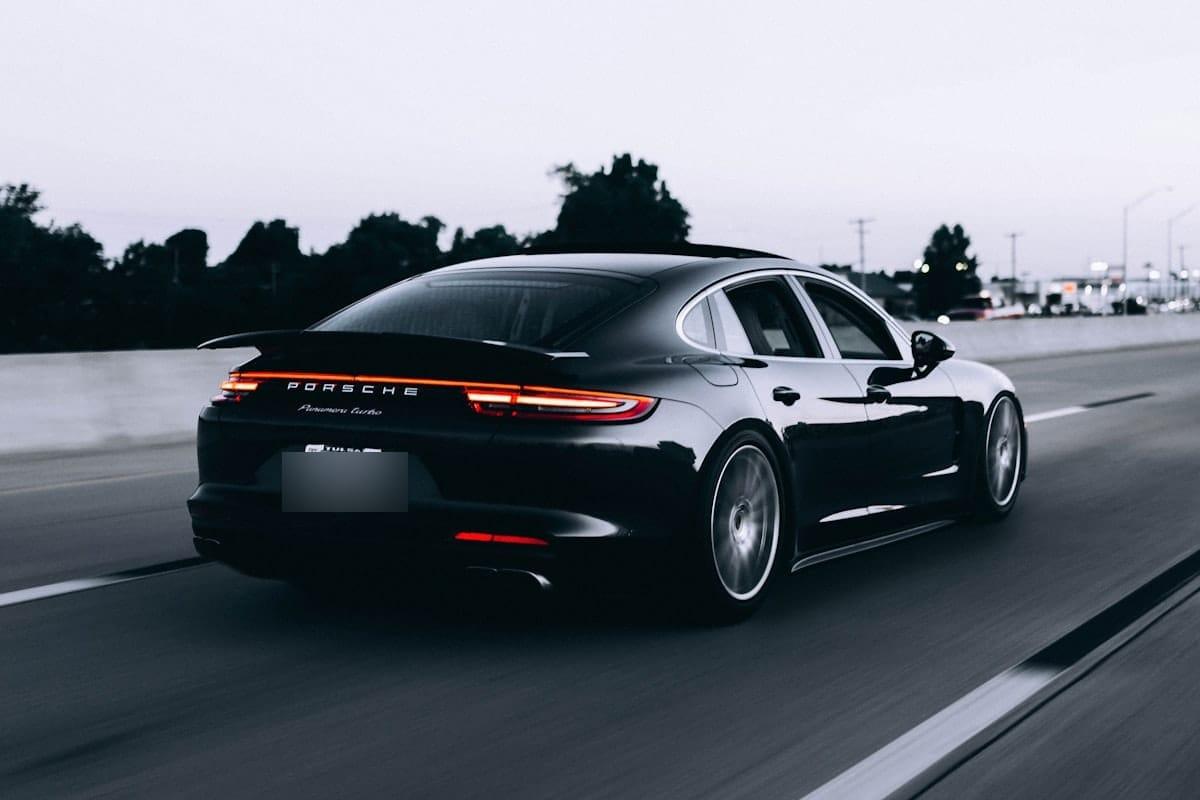
Keeping a consistent style across a listing
Pick one style and use it for the whole car. Pixelate is the default and the safe pick: it's obviously deliberate, it survives as a real pixel edit in the export, and it doesn't read as a photographic mistake the way a soft blur sometimes does. Solid fill is the alternative if you want the plate area to be flatly and unmistakably blanked.
The thing to avoid is mixing them. A listing where three photos are pixelated, two are blurred and one still shows the registration looks unfinished, and buyers notice that kind of inconsistency more than they notice the blurring itself. Same style, every photo, every car.
Make it the last step of the shoot rather than a separate task for later. Photos come off the camera, go through bulk in one pass, and the ZIP is what gets uploaded to the listing — so the unblurred originals never end up in the folder someone else publishes from by mistake.